

How to Take Beautiful Photos with an iPhone
I love taking pictures on my iPhone. To be honest, I actually tend to use my iPhone more for pictures than my DSLR when I travel. In fact, I have seriously considered going on travels and taking photos with only my iPhone but have not fully committed to doing that since a DSLR definitely still has its benefits.
When a lot of people take photos on an iPhone, it is typically point and click with little regard to lighting, setting, or position (I still do that, too). However, there are several features on the iPhone and tips that can help you take some amazing and unique photos. These are features that I tend to often use when I take photos depending on the environment, and what I want to focus on. Using these features has made my photos a lot better (in my opinion). Of course, while these features can certainly improve photos, uncontrollable factors like atmospheric conditions will continually play a role in the overall result of a photo, so it is important to adjust some of the settings (which this article talks about) to get that perfect shot.
All of these pictures were taken by me using an iPhone 7 Plus.
1) Use the Grid Function
The Grid Function
The grid function is very useful in making sure everything is level and straight when you take a photo. The grid function separates the picture frame into a square grid with nine boxes of equal size that helps the photographer make sure everything lines up correctly. In my opinion, this function makes it a lot easier to take straight photos without having to eyeball whether the frame is straight without the grid.
Of course, sometimes the ground is not level, so it is possible that while the grid might see the photo as level, it will not take into account the surface you're standing on. There have been times I have taken a supposedly level photo with the grid function but because I was standing on an uneven surface, the photo looked somewhat tilted or lopsided. This is something to take into account.
For me personally, I always use the grid function nowadays since it has helped me to take straight and level pictures since all that has to be done is make sure everything lines up. I cannot tell you how many photos I took without the grid to find that something was lopsided or not quite straight.
In order to apply the grid function, simply follow these steps on an iPhone:
Settings --> Camera --> Grid (move the button to green)
2) AE/AF Lock
The Auto Exposure feature
This is a particularly useful function that assists with getting the best focus and exposure possible. AE simply refers to “Auto Exposure” while AF refers to “Auto Focus.” Auto Exposure will automatically set the exposure, but it also gives you the option to set it yourself. Auto Focus will focus for you while also giving you the option to pick what to focus on. Once you choose to focus on something, the camera will remain locked on that particular image.
To enable the AE feature, simply tap once on the screen. In the picture on the right, I took a picture of a picture of a stately home that I have in my home. I chose to focus on the doorway where a group of people are and simply tapped my finger on that area one time.
Once I tapped my finger on that area, a yellow square box appeared where I tapped, and a small sun appeared. Because it is rather faint, I marked the area in red since it is a bit difficult to see in the picture. The exposure can now be adjusted accordingly by moving your finger and up down on the sun sign. The higher you move the sun sign, the higher the exposure and vice versa.
If you choose to do the AE/AF Lock (see the picture below) at the same time, you simply pick the spot you want to focus on and hold down your finger on the screen. The yellow square box will appear along with the sun, and you will be notified that the AE/AF Lock is set. The camera will then do the rest, but you can still fix the exposure if it is not exactly what you want.
The AE/AF Lock feature
In the above picture, I chose to take a picture of an abstract painting that I have in my home. First, I got close to avoid having any white space from the picture frame, and then I decided to focus in the center part of the painting, but any part could have been chosen. In order to set the AE/AF Lock, I put my finger on the part I wanted to focus on and kept it there. The AE/AF Lock notification then appeared at the top. Since the exposure was initially a little bright, I moved the sun sign, which is next to the square box, down slightly to make the image a little bit darker and took the picture.
The AE/AF Lock is a useful iPhone feature that will lock onto a particular part of the image and keep focus on it. Depending on the environment you're shooting in will determine how useful this function will be. If you're in a bright setting, this feature is not as useful. However, when in a dark or dim setting, this feature can be quite useful.
3) Portrait Mode
I have found that Portrait Mode is a wondeful feature that can create some amazing and unique shots if it is used correctly. The first time I experimented with this, I particularly liked how the image focuses on one object while keeping the background blurry and creating a depth effect. In a way, portrait mode can also be used as something of a substitute for the zoom function although I would not rely on it for that purpose.
In my opinion, portrait mode is probably the easiest feature to use on the iPhone since in order to use it correctly, you simply need to move the setting to “Portrait” while in the camera. You then need to move closer to the object you want to photograph, and the camera will tell you to either move back or move closer to the object. You can also use the AE/AF Lock with this feature as well if you choose.
The three photos in the gallery below were all taken by me using portrait mode in the iPhone 7 Plus. In all three, a depth effect was created in the background while the focus remained on the figures which permitted a lot of detail to show.


4) A Steady Hand
A mastery of the iPhone camera features (and any camera for that matter) means nothing without a steady hand. The general rule is that the steadier your hand, the better your shots will be. I find this advice particularly important when taking photos in darker environments. Of course, it is almost to keep a perfectly-still hand, so it would be best to take a shot while resting your hand or arm on a solid surface or use a camera tripod that is designed for an iPhone.
5) Unique Viewpoints
A lot of people often just face an object, point, and click. While the photo itself might be perfectly fine, it can create a rather boring and generic view. Because of the small size of the iPhone when compared to a DSLR, be unique and experiment with different viewpoints and perspectives. Sometimes even the most mundane objects can be made into fascinating shots since the viewpoint will be a little bit different from what everyone else always shoots.
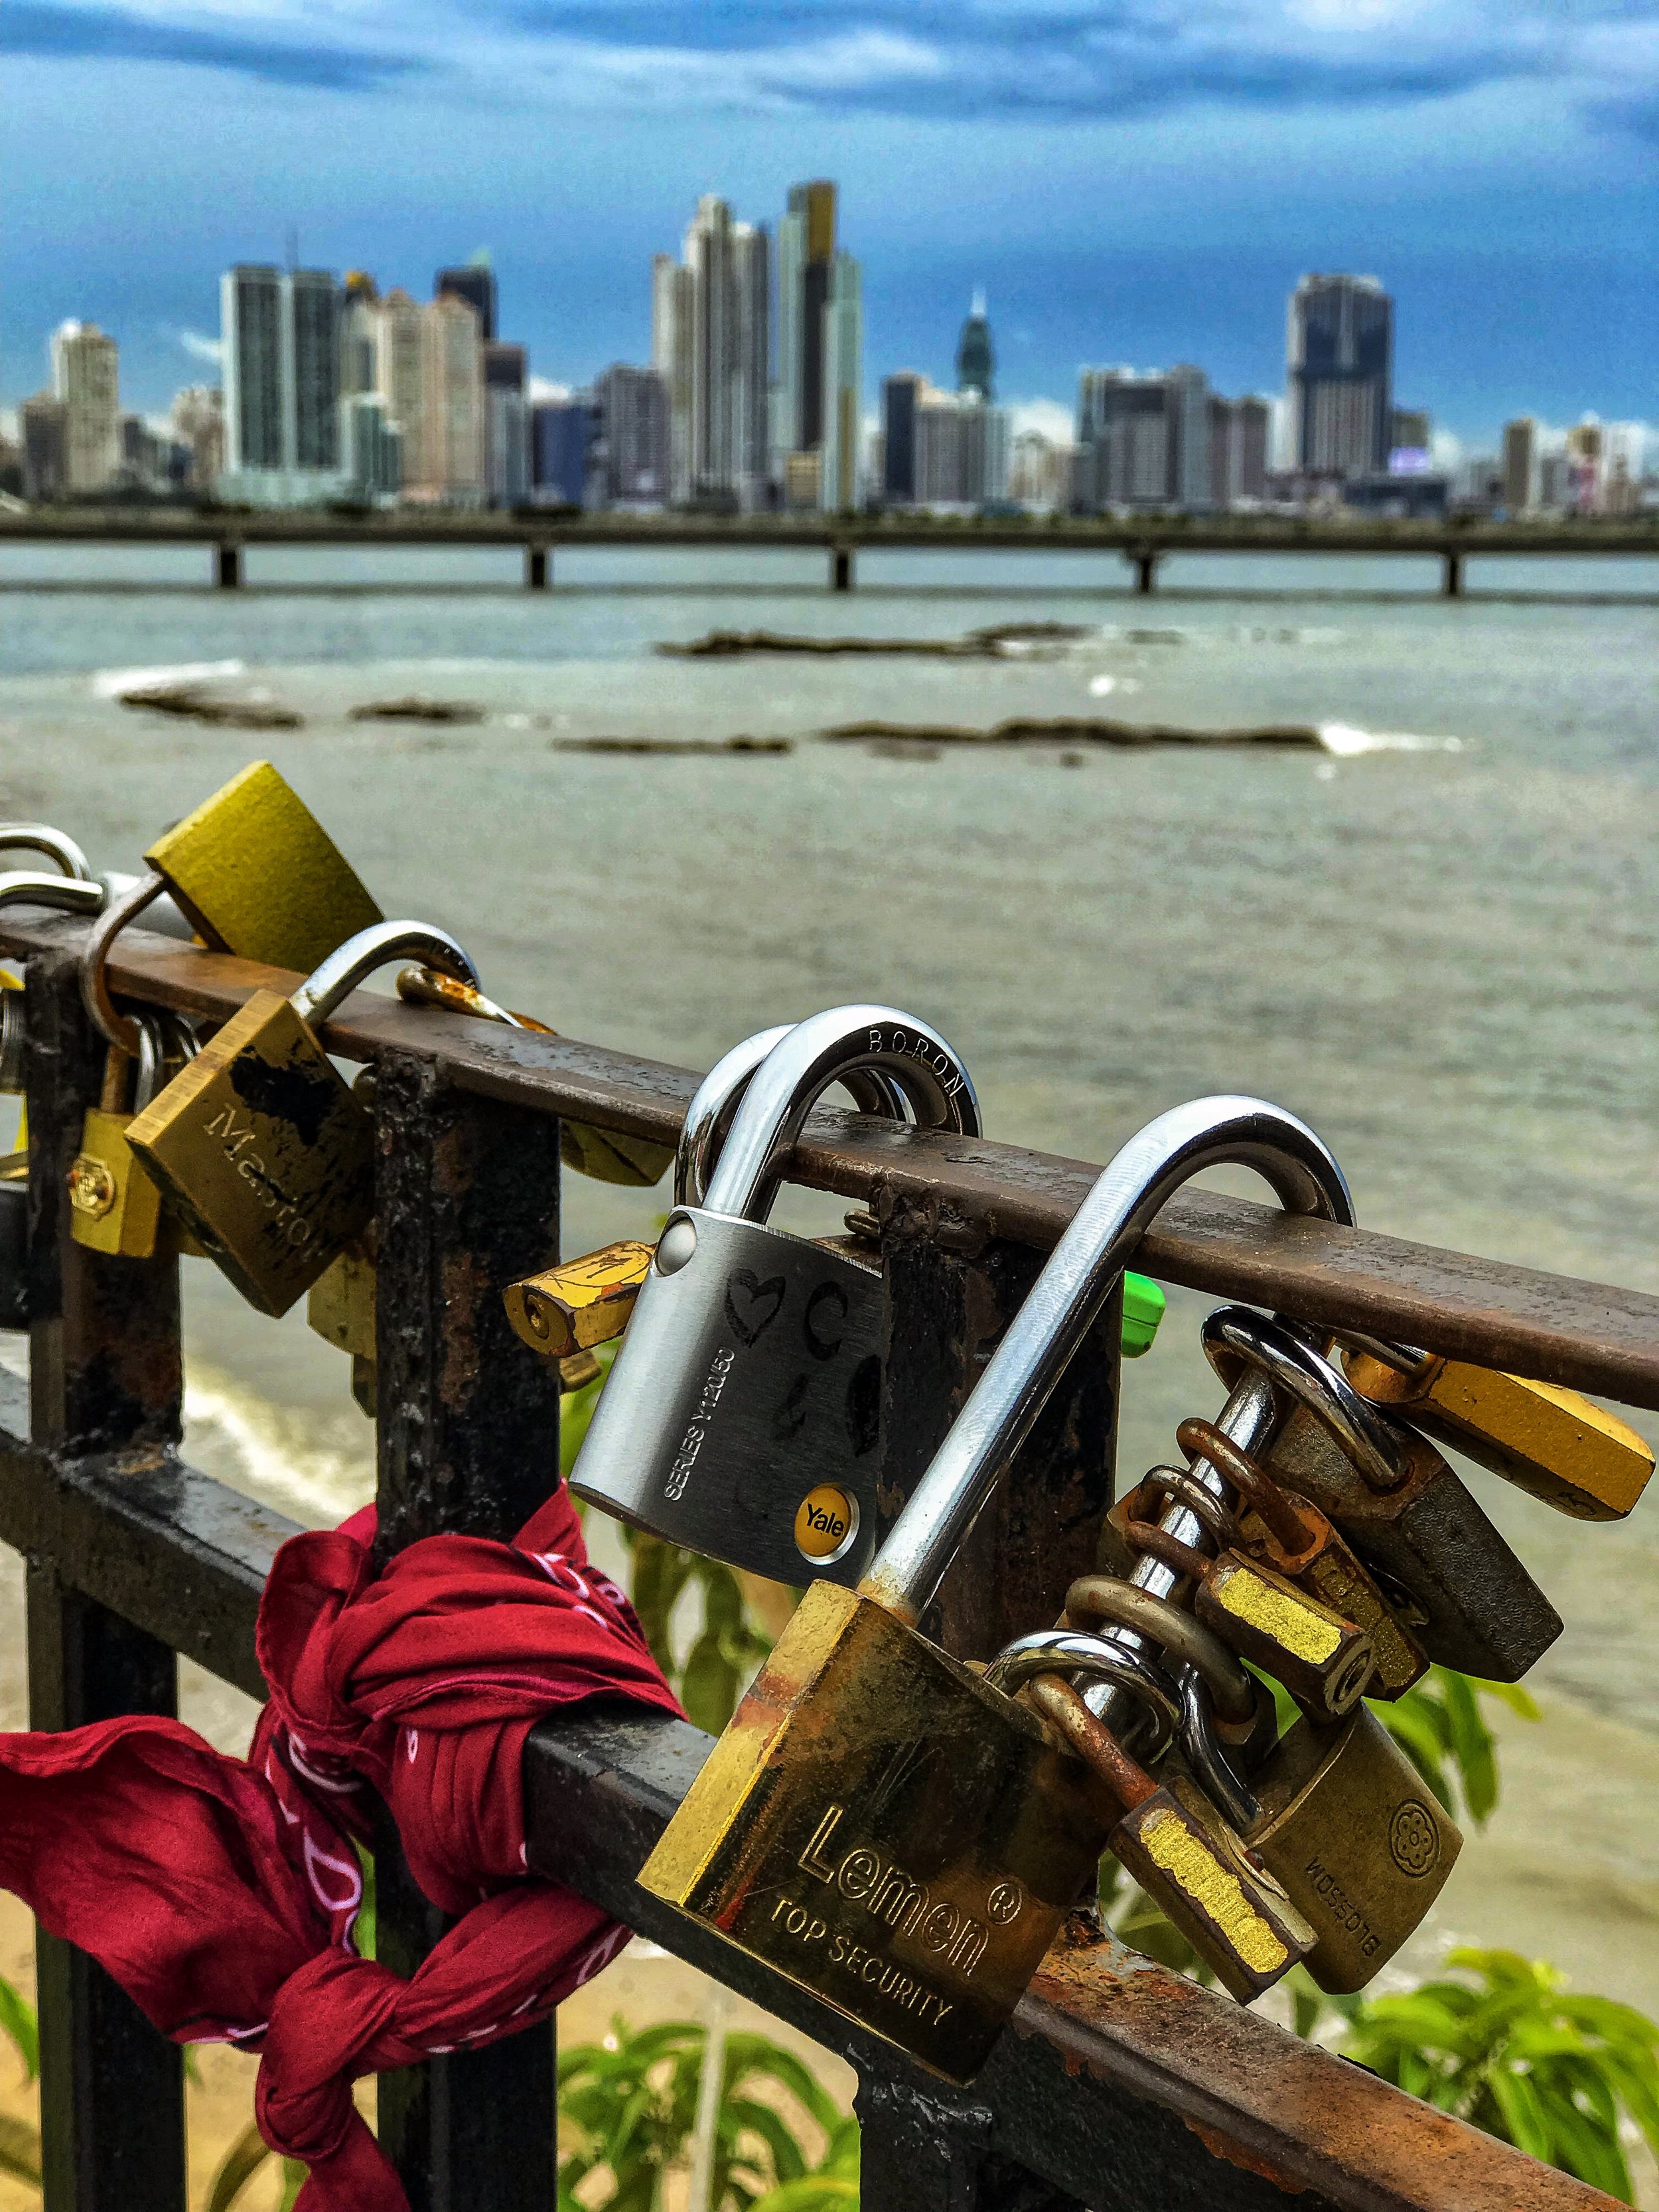
In the four shots below, I tried to get pictures from unique positions. In the first show, I focused on the “locks of love” in Panama City, Panama which gave them excellent detail, but since I was not in portrait mode, the background became somewhat pixelated. The two aerial shots were taken while flying over the Gulf of Mexico at different points. In one case (the bottom right), I was able to capture a fragment of a rainbow while flying above it. The photo on the bottom left was taken while looking up at the tomb of Jose de San Martín in Buenos Aires, Argentina.


6) Experiment and Have Fun
The most important tip to take beautiful photos with an iPhone is to just experiment and have fun. The best advice I can give is to take photos of anything and everything from different angles and perspectives, and don’t be afraid to play around with some of the features I mentioned. In addition, don't be afraid to get up, over, under, on top of items, crouch, or lay on the ground to get shots. If you need to, get down on your knees and pick a point to focus on. Maneuver around what you want to take a picture of and try to get the shot from different angles while experimenting with some of the different functions. Sometimes the photos will come out well, and sometimes they won’t, but that is the purpose of experimentation. While some people might think you look silly getting into different positions, you can know that you're taking probably beautiful, unique, and creative photos.
Ultimately, there is no right or wrong way to take a photo with an iPhone. The nice thing is that the iPhone or any smartphone for that matter allows a user to experiment without having to worry about using film. If you don’t like a photo, you can simply delete it and move on. With practice and experimentation, you’ll soon be taking gorgeous photos!
Good luck and enjoy photographing the beautiful world!

